If you’re looking to boost your productivity and enhance your computing experience, setting up dual monitors on Windows 11 is a fantastic choice. Whether you’re a professional needing multiple screens for work, a gamer wanting a wider field of view, or simply someone who enjoys multitasking, this ultimate guide will walk you through how to set up dual monitors on Windows 11 like a pro. From understanding the benefits and system requirements to troubleshooting common issues, this article aims to equip you with all the knowledge you need to maximize your dual monitor setup. Let’s dive in!


System Requirements for Dual Monitor Setup
When considering how to set up dual monitors on Windows 11, understanding the system requirements is essential for a seamless experience. First, ensure that your graphics card supports multiple displays; most modern graphics cards do, but it’s worth checking the specifications for your specific model. Additionally, you’ll need available video ports on your computer—common types include HDMI, DisplayPort, DVI, and VGA. Windows 11 also requires a compatible CPU and at least 4GB of RAM to efficiently manage the dual-monitor setup. Make sure your monitors are compatible with your graphics outputs and have the appropriate cables. Once these requirements are met, you can easily configure your displays in the settings, allowing for enhanced productivity and multitasking capabilities.
Connecting Your Monitors to Your PC
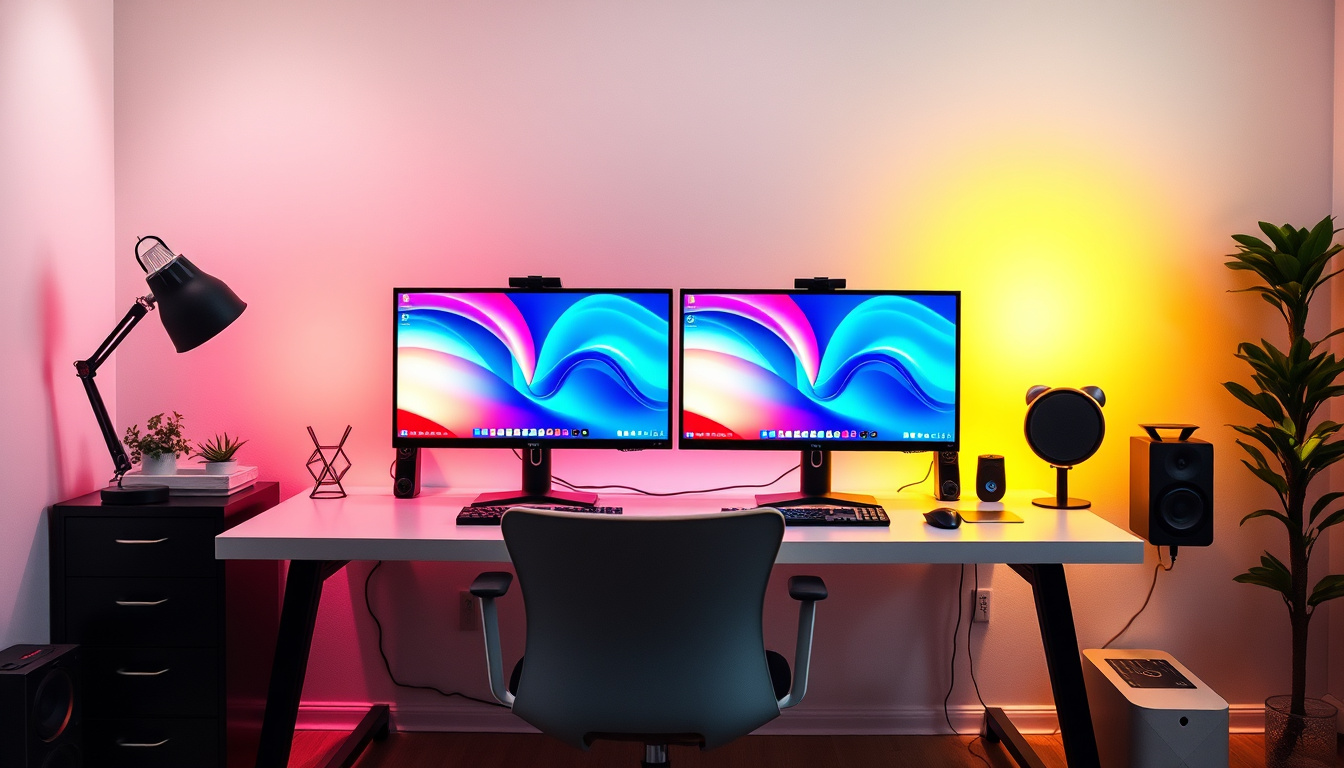
Setting up dual monitors on Windows 11 can significantly enhance your productivity by providing additional screen space for multitasking and better organization of your workflow. To begin, ensure that your PC supports dual monitors – most modern graphics cards do. Connect your second monitor to your PC using the appropriate cable, such as HDMI, DisplayPort, or DVI. Once connected, right-click on the desktop and select ‘Display settings’ from the context menu. In the display settings menu, you will see both monitors represented as rectangles. You can identify which is which by clicking the ‘Identify’ button, which will display numbers on each screen. From here, you can adjust the arrangement by dragging and dropping the rectangles to match the physical placement of your monitors. Make sure to set the display mode to ‘Extend these displays’ to utilize both screens effectively. Finally, adjust the resolution and scaling for each monitor according to your preference for optimal viewing. With these steps completed, you’ll be equipped with a powerful dual-monitor setup, making it easier than ever to manage tasks, projects, and communications.

Configuring Display Settings in Windows 11
Configuring display settings in Windows 11 is a straightforward process that empowers users to enhance their workspace efficiency, especially when learning how to set up dual monitors on Windows 1
1. To get started, navigate to the desktop, right-click, and select ‘Display settings’ from the context menu. This opens a visual interface where you can manage your screens. If you’ve connected a second monitor, Windows 11 should automatically detect it; you’ll see both displays represented as numbered boxes. You can choose how to extend or duplicate your displays, adjust the resolution, and configure orientation settings. To seamlessly extend your desktop across two screens, select ‘Extend these displays’ from the drop-down menu. Additionally, you can drag and drop the monitor icons to match the physical arrangement of your monitors, ensuring a smooth transition between screens. With these simple steps, you’ll be well on your way to optimizing your dual monitor setup in Windows
11.
Managing Window Arrangements and Workspaces
Setting up dual monitors on Windows 11 can significantly enhance your productivity and multitasking capabilities. To begin, ensure that both monitors are correctly connected to your computer. Power on your monitors, and then right-click on the desktop to access the display settings. Select the ‘Display settings’ option from the menu. Here, you will see the arrangement of your screens; Windows 11 typically detects monitors automatically. If not, click on ‘Detect’ to identify them. You can rearrange them by dragging the monitor icons to match their physical setup on your desk. For a seamless experience, it’s recommended to set the same resolution for both monitors. This can be done by scrolling down in the display settings until you find the resolution options. After making these adjustments, click ‘Keep changes’ to save your settings. With dual monitors successfully set up, you’re now equipped to manage numerous applications with ease, create a more organized workflow, and ultimately, maximize your efficiency.

Troubleshooting Common Dual Monitor Issues
Setting up dual monitors on Windows 11 can greatly enhance your productivity, whether you’re multitasking for work or gaming. However, users may encounter common issues that can disrupt their experience. First, if your second monitor isn’t detected, start by checking the connections to ensure that all cables are securely plugged in and that the monitor is powered on. Next, right-click on the desktop, select ‘Display settings,’ and scroll down to ‘Multiple displays’ to ensure the second monitor is recognized and properly configured. If the display appears but is not functioning as expected, experiment with different display modes, such as ‘Extend’ or ‘Duplicate,’ to find the most suitable layout for your workflow. Additionally, updating your graphics drivers via the Device Manager may resolve compatibility issues. Lastly, if adjustments to resolution or scaling are necessary, these can also be modified in the display settings. By following these troubleshooting steps, you can optimize your setup and seamlessly learn how to set up dual monitors on Windows 11 for an improved computing experience.
Frequently Asked Questions
What are the benefits of using dual monitors with Windows 11?
Using dual monitors can significantly enhance productivity by allowing you to multitask efficiently. You can have multiple applications open simultaneously, view large spreadsheets side by side, or even keep communication tools open while working on projects. Additionally, it provides a larger workspace and helps reduce the need to constantly switch between tabs or windows.
What system requirements do I need to meet for a dual monitor setup on Windows 11?
To set up dual monitors on Windows 11, you’ll need a compatible graphics card that supports multiple displays and two monitors that can connect to your PC. Ensure your PC has the appropriate ports (like HDMI, DisplayPort, or VGA) available. Additionally, check if your monitors support the desired resolution for optimal performance.
How do I connect my monitors to my PC for a dual monitor setup?
To connect dual monitors, first turn off your PC and plug the monitors into their respective ports on your graphics card. Then turn on your PC. Windows 11 should automatically detect the monitors. If not, check the connections and ensure your monitors are powered on.
How can I configure my display settings in Windows 11 after setting up dual monitors?
Right-click on the desktop and select ‘Display settings.’ Here, you can rearrange your displays, choose which one is your main display, adjust the resolution, and configure other settings such as orientation and scaling. After making changes, click ‘Apply’ to see how it looks and confirm the adjustments.
What should I do if my dual monitor setup isn’t working properly?
If you encounter issues, first check that all connections are secure and the monitors are powered on. You can also go into ‘Display settings’ and ensure that both monitors are detected. If problems persist, try updating your graphics drivers, restarting your PC, or checking for hardware compatibility issues.